In this tutorial we are going to create glossy stylish buttons using photoshop. The tutorial is given with lots of illustrations to help you get through.
1.Create a new document with any size (i choose 250*250 pixels) with white background. Press Alt and double click the background layer.
2.Create a new layer from "Layer --> New --> Layer" from the menu bar and use rectangle tool(in fill pixels mode) to create a rectangle shape like shown below
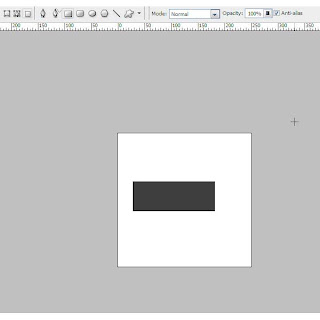
3.Now press control and click on the rectangle layer(layer 1) in layers Pallete to select the rectangle we have created.
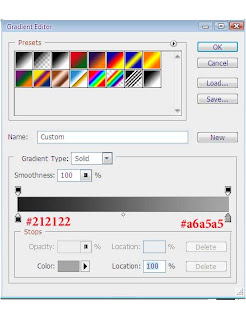
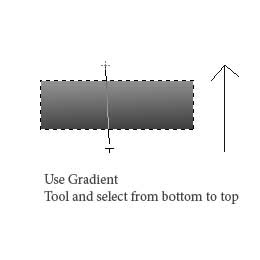
4.With the selection active, press "G" to open gradient tool and and change the colors in the gradient editor as shown from the picture below.
5. Now open blending properties of "layer 1" and change the values of "Drop Shadow", "Inner Shadow" and "Stroke" values like shown in the pictures below.
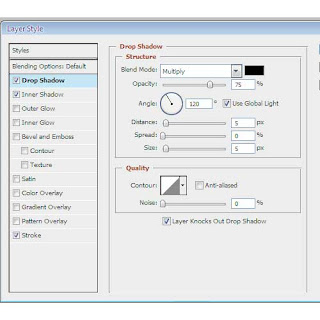
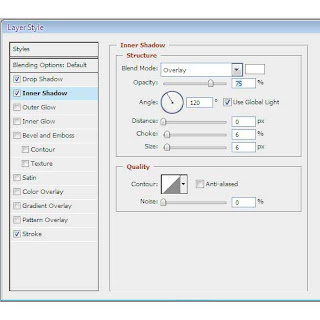
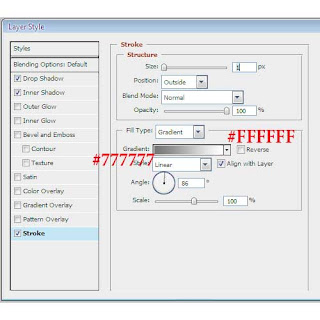
After doing the above steps we will get something like this.
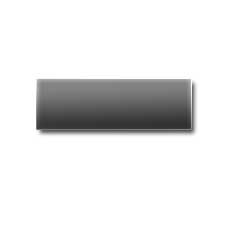
6.Now we are going to add the glossy effect in steps. For that press control and click "layer 1" .Then select elliptical marquee tool and by pressing Alt subtract the bottom areas of selection, so that we are left with top area of selection. This is shown below.
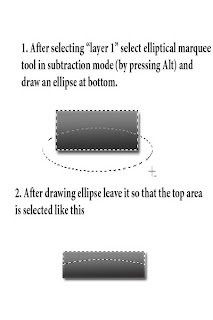
7.With the top selection as such, make a new layer(Shift + Control + Alt + N)
8.Press "G" to select Gradient tool and then draw a gradient as shown in the picture below
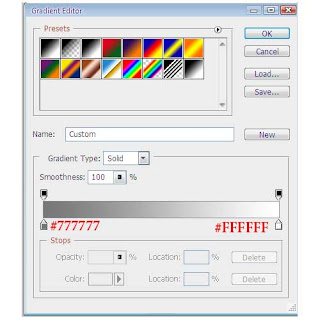
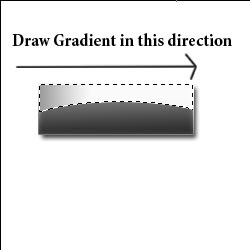
9. Now we will get the button like shown below
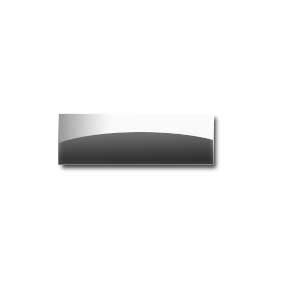
10. Now change the layer's blend mode to overlay and reduce the opacity to around 33%. The button will look something like this.
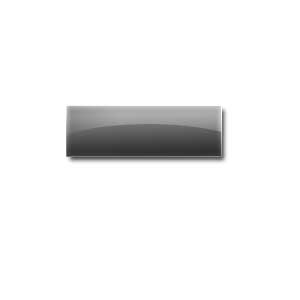
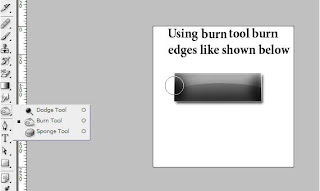
11. Now to add some extra touches using burn tool. For this, keeping the bottom layer(layer1) selected add some burning effects at the sides like shown in the picture below.

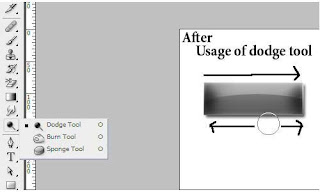
12. Similarly using dodge tool soften the top and bottom edges of the button like shown below
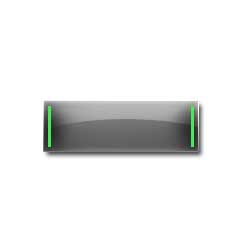
13. Now let us add some extra effects. MAke a new layer and take the pencil tool with green color(#46e859) with diameter "1". Draw two vertical straight lines(by pressing shift) along the left and right edges.It will look like this
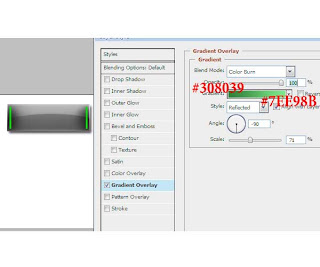
14. Now change this layer's blending properties like shown in the picture below.
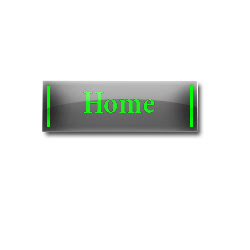
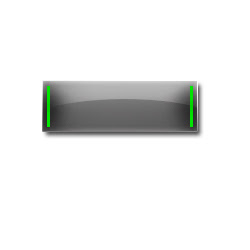
15. After changing the layer's blend mode to "vivid light" our glossy button is ready and it looks like this
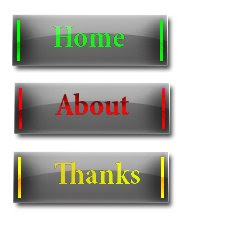
16.Lets write some text in that button so that it looks like

Similarly some buttons are created and shown below


blogwalking more often
@ Raini
Thanks for your comments.. Keep visiting often for more such tutorials.
put shout box widget and link me then ill link back
blogwalking
thanks for following
Thank you for the great Photoshop tutorials. I've learned some great techniques from you and am very grateful. I will be coming back and looking for these great tutorials on photoshop.
Hello from Nouméa
Thanks for sharing
http://www.dodstech.com
Dodstech is a leading-edge Information Technology consulting company. Providing technical solutions for our clientele to help them achieve their business objectives. Our expertise covers a wide range of technologies that enables us to provide total integrated solutions for our clients.
Our SERVICES are
* Web Applications.
* Web Designing.
* CMS.
* Data Entry.
* Print Media.
* SEO.
* Joomla.
* Word Press.
* Web Maintainance
* Flash Websites
* Web Hosting etc
Dodstech is providing its best package ever so visit our website http://www.dodstech.com/webdesign.php and avail are limited time offer.
Join Us on Facebook http://www.facebook.com/?ref=home#/pages/Dodstech/245471356219?v=info&ref=ts